
Balcony Birding: 5 “Low-Hanging Fruits” for Better Bird Photography
I have been trying to get better bird photographs for over 3 years now; and I do not see my quest ending anytime soon. It is not only me: when it comes to wildlife photography, most people that I know have this urge to get better photographs than what they currently do. If you are reading this post, am assuming that you have this urge too. The catch, however is that, in this genre of photography (in comparison to say landscape or portrait or street) you rarely get second chances: if you miss a frame, you miss a frame; and I have missed many. The challenge is even graver when it comes to photographing birds. Besides missing frames that could have been “viral in all senses”, I have also come back so many times from the wild with photographs that look terrible on a larger screen.
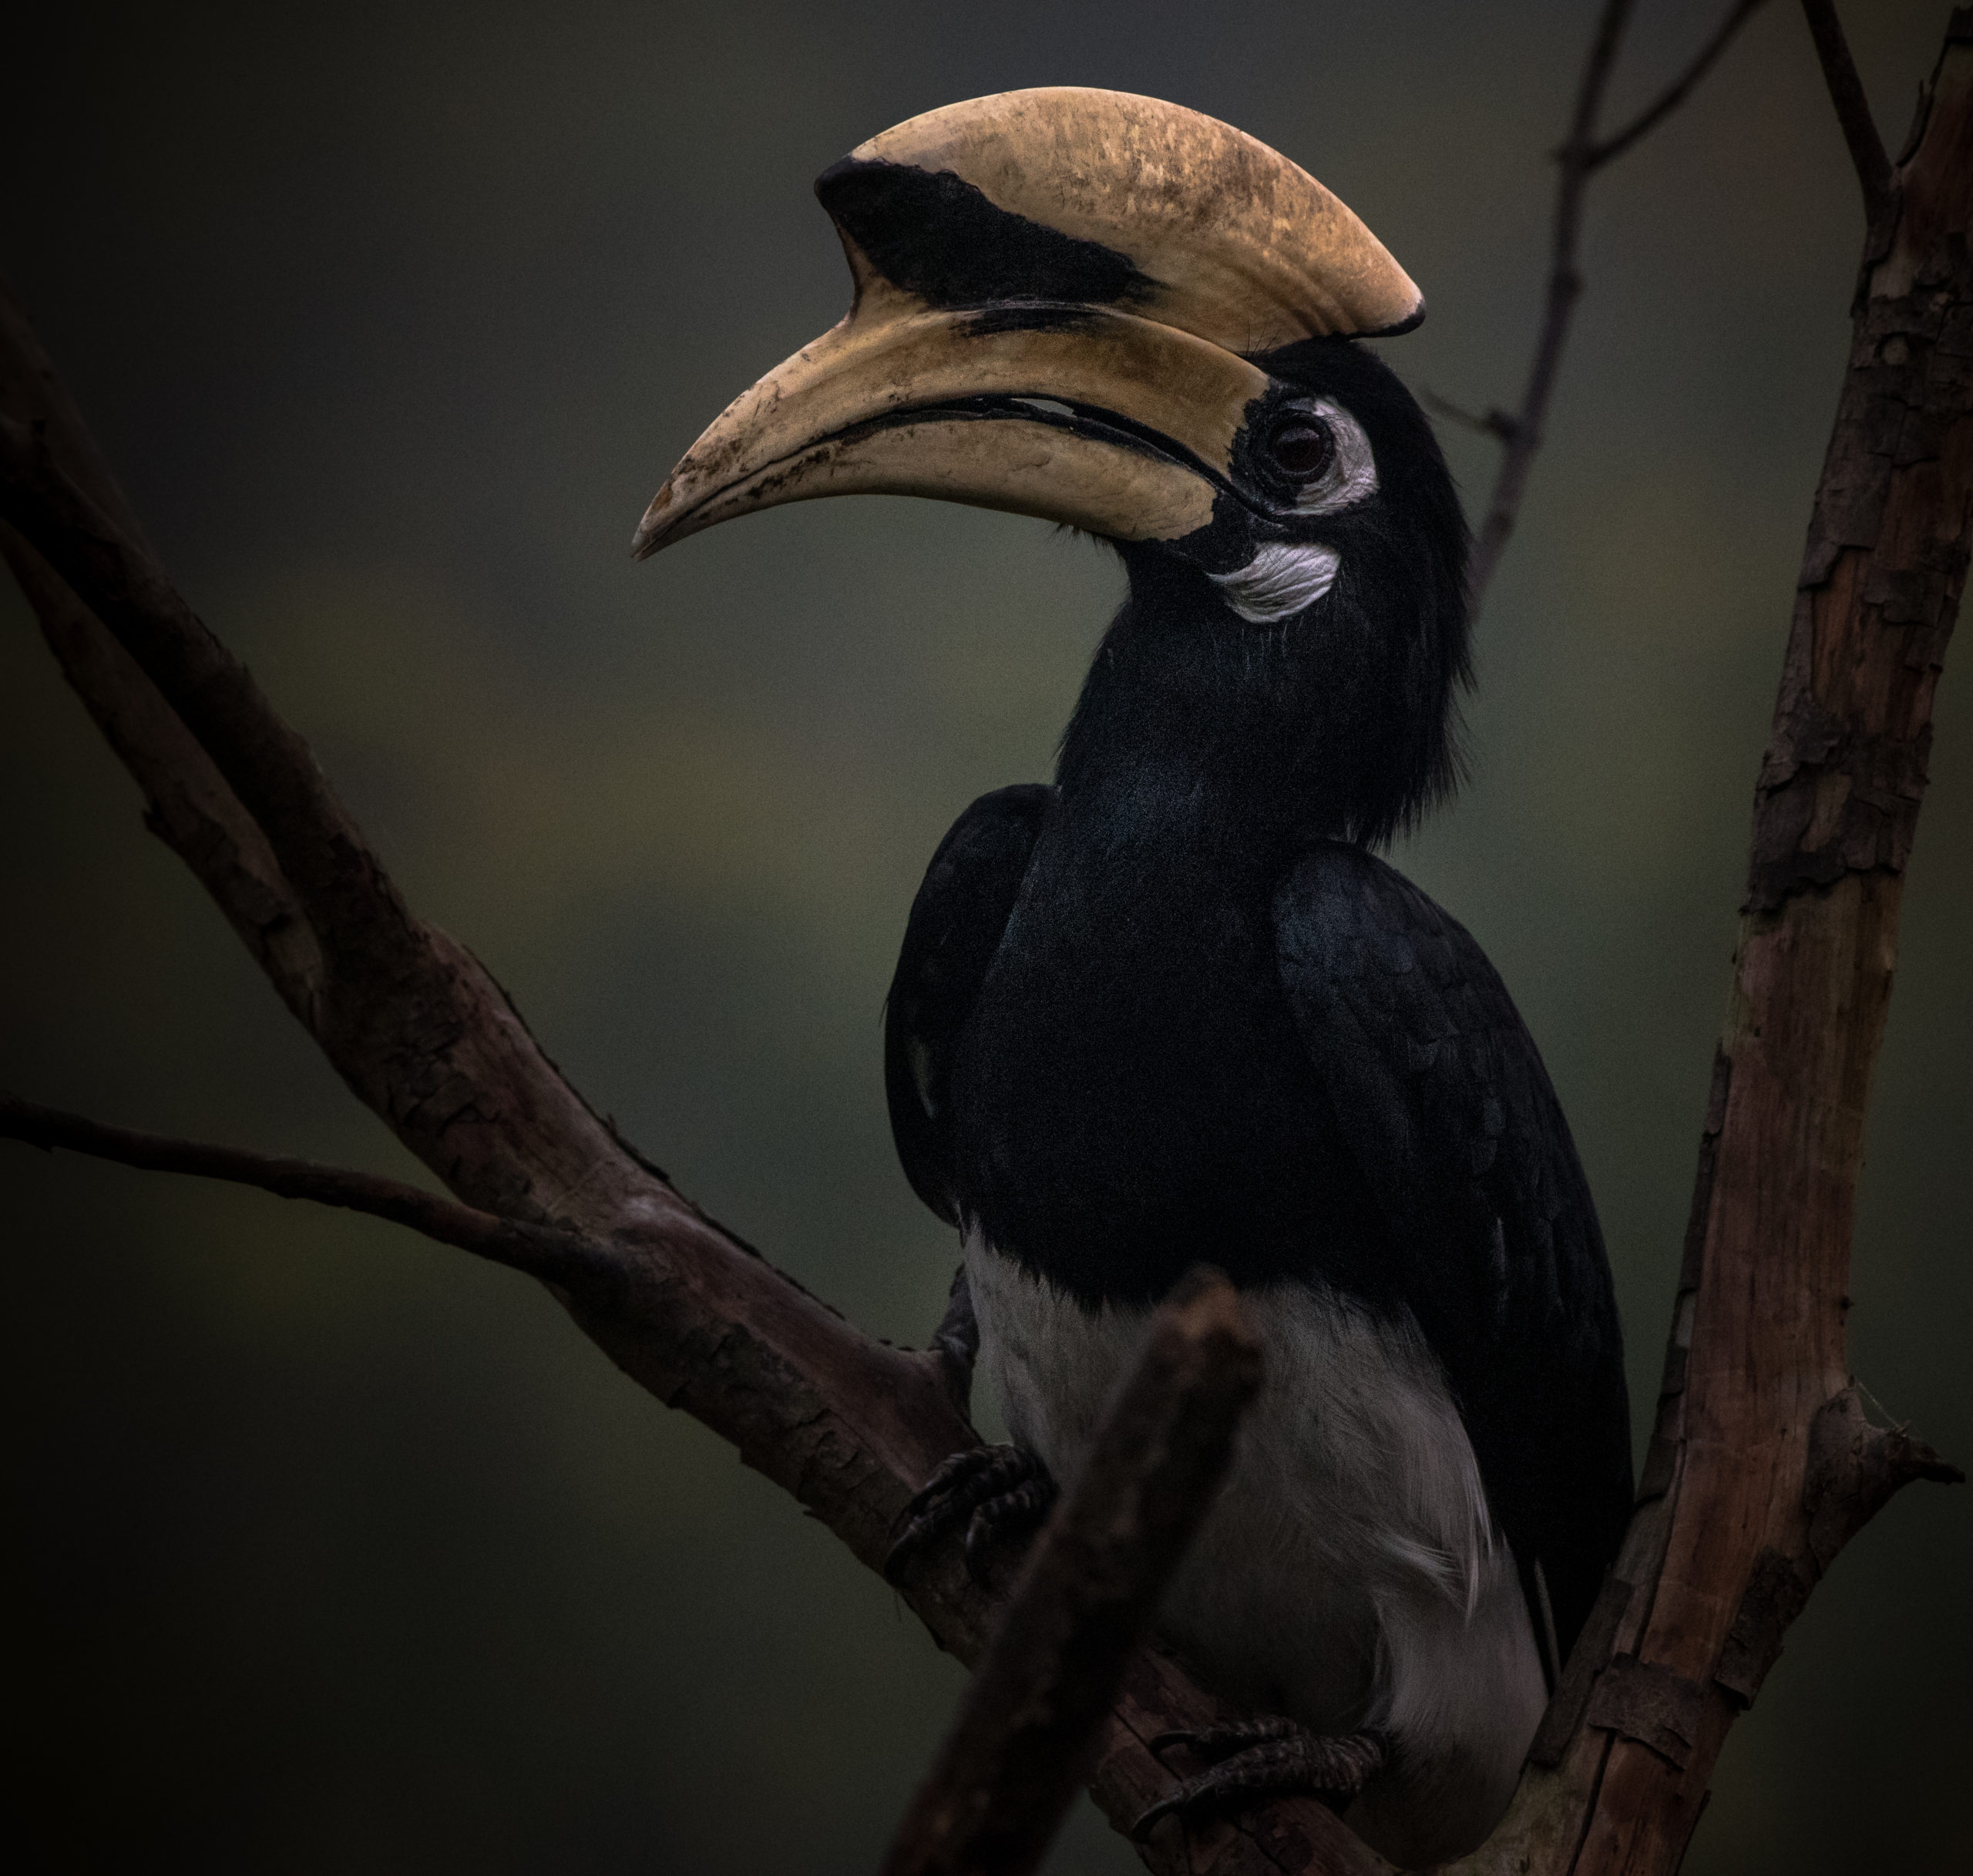
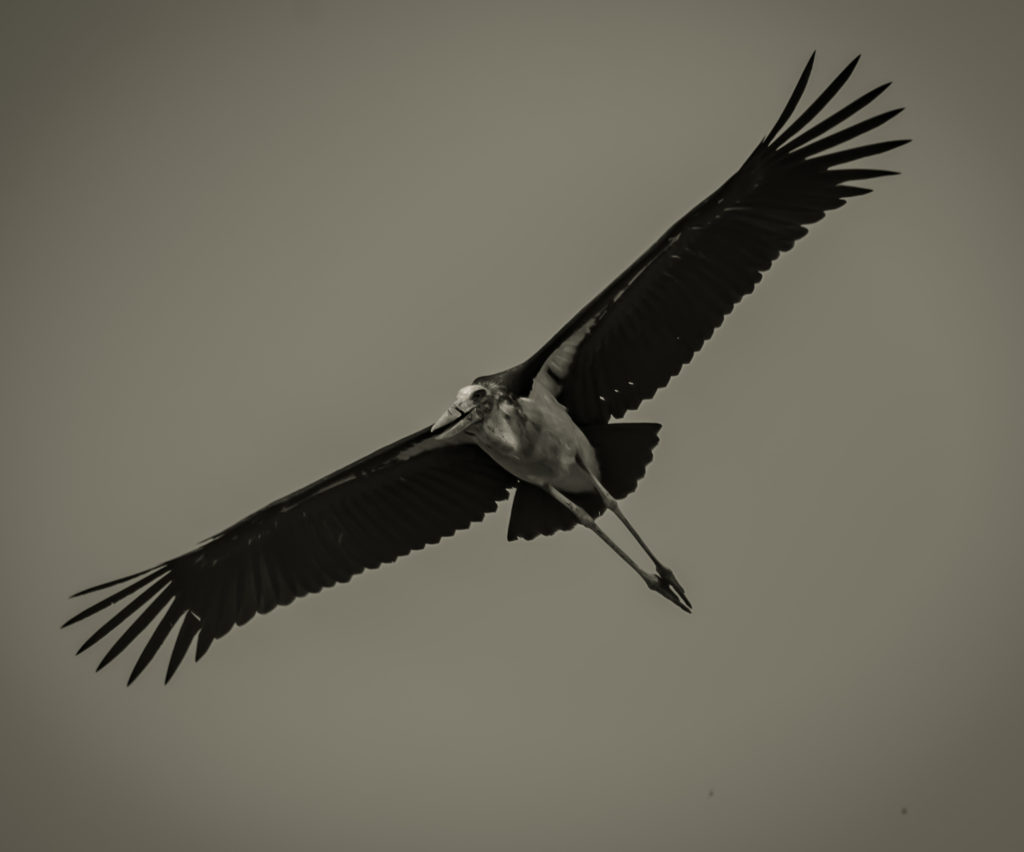
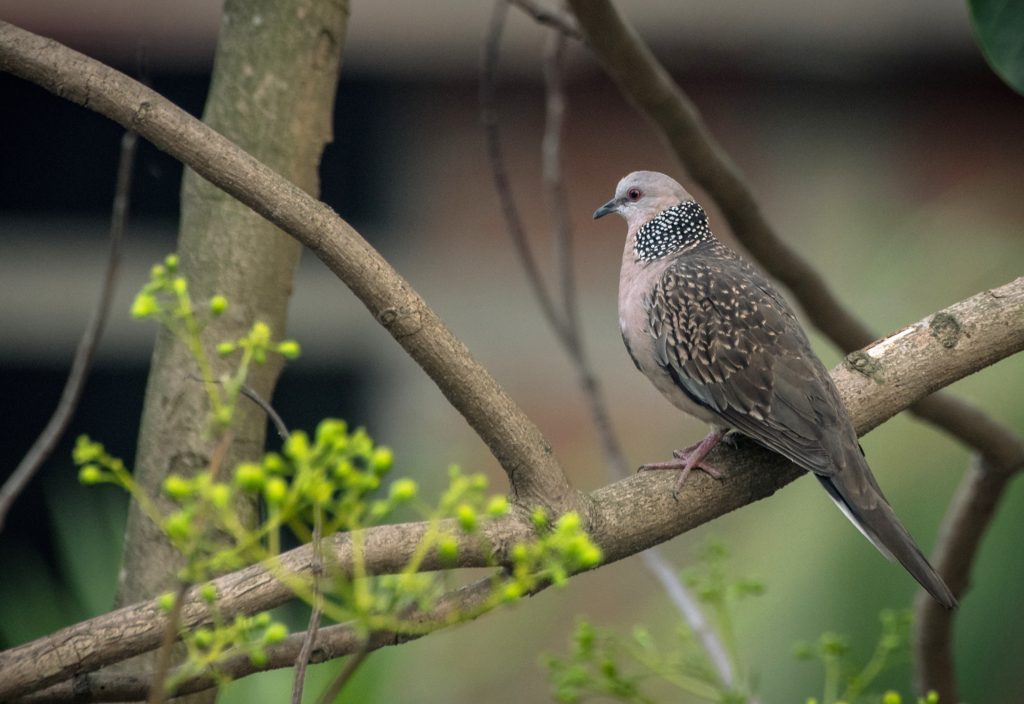
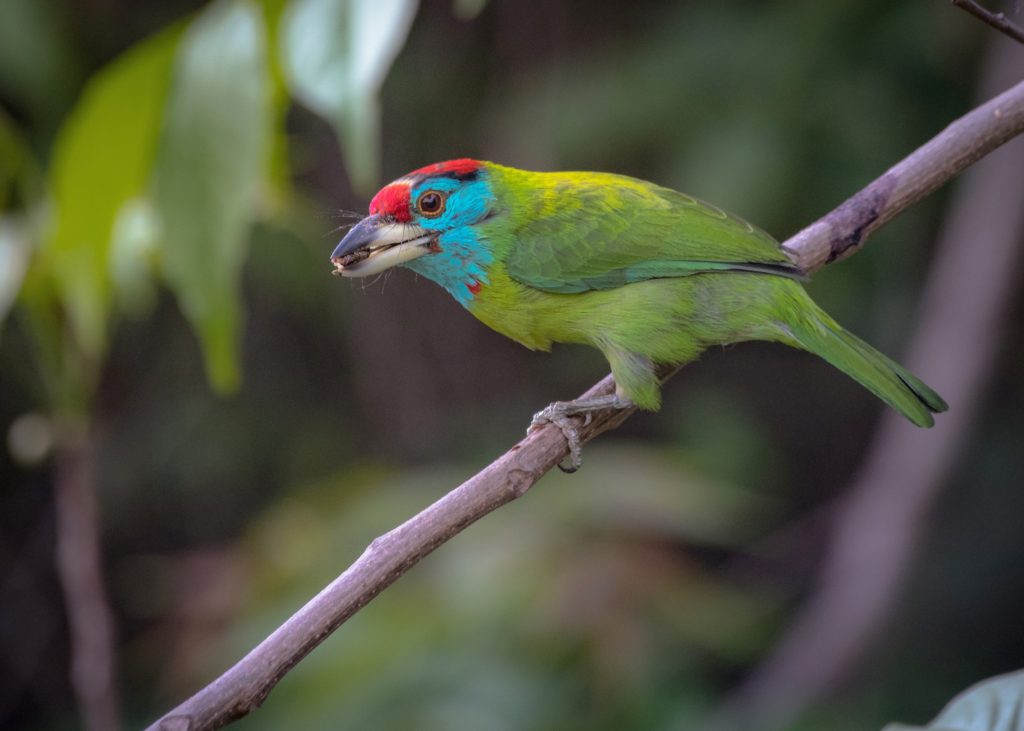
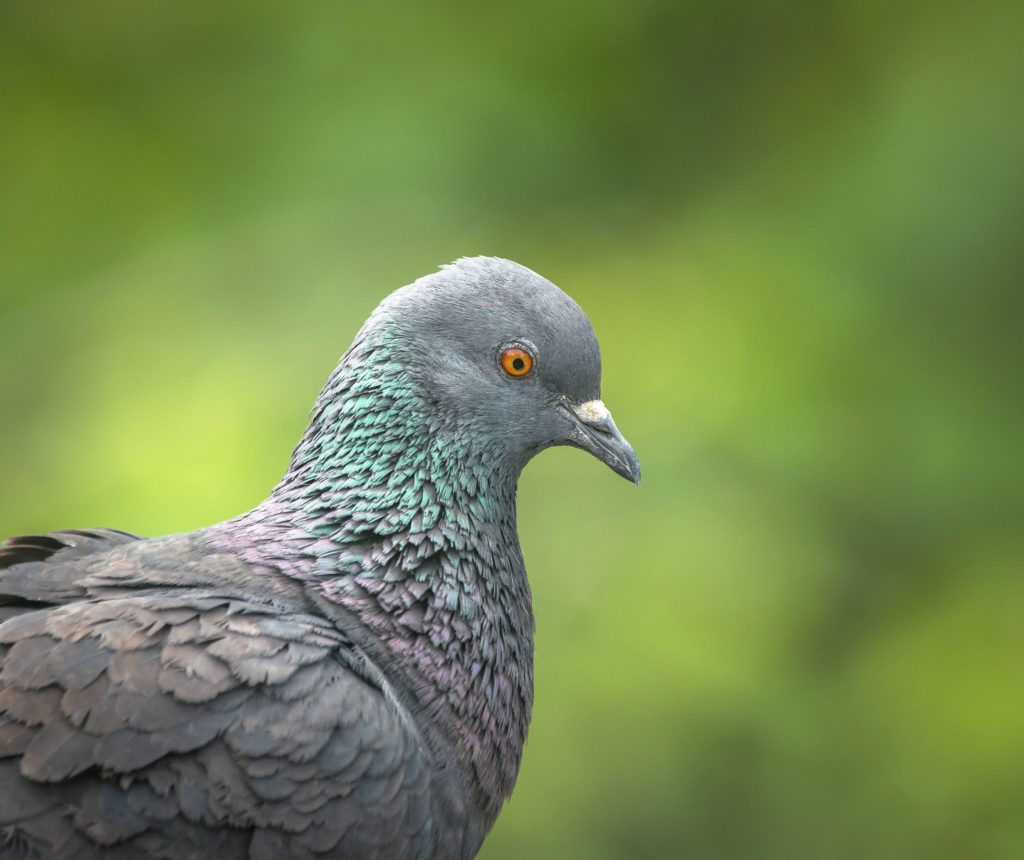
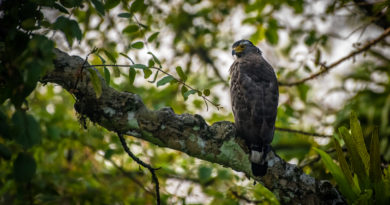
Over time, as I understood photography a little better, I started to understand a few “low-hanging fruits” that resulted in better photographs and through this post, I plan to share these with you with basic image examples throughout the post (all shots taken from home during the Covid-19 lockdown). As a disclaimer, I need to highlight that these are things that worked for me and may not necessarily be right or wrong. I hope that you pick up something from this post. So, let’s begin:
1. Choose a shutter-speed wisely: Not getting into formal definitions, but for me, the shutter speed is the amount of time your camera takes to “create” an image. So very basically, if your shutter speed is slow, the time taken is longer and vice-versa. What this means is that if your camera moves or if the bird moves before your camera finishes making the image, the result is going to be a blurred image. Hence, it is very important to keep a fast shutter speed for fast moving birds, maybe around 1/500th of second or faster, while you can have a slower shutter speed for larger more stable birds that are perched. Here, I would like to emphasize that: just for a fast shutter speed do not keep boosting the ISO. Boosting the ISO is one of the easiest ways to get a fast shutter speed, but it is the biggest enemy to image quality. Hence, while targeting a faster shutter speed, minimize your reliance on ISO. Think of aperture and exposure compensation first: plan for ISOs above 640 only if you cant get decent shutter speeds 1/500th of a second or faster. I have made the mistake of keeping the ISO high and shutter speed at over 1/2000th of a second for no-reason at all, thus damaging a lot of my images.
2. Learn which shooting mode works best for you: While shooting birds, know which mode works best for you (full manual, aperture priority, or shutter speed priority). I love aperture priority over shutter speed priority or manual and I have absolutely no reasons to shift from this mode. My work stream is normally to have myself shooting in aperture priority, using ISO to up to a maximum of 640 (in most cases) to boost shutter speed, followed by lowering or increasing the aperture to get an even faster shutter speed when required. I know many wildlife photographers who always shoot on aperture priority, and it works well for them, hence see if the mode makes your life easier and take a call yourself. In addition, back button focus is something that did wonders to my shots, especially in the case of moving birds and birds in flight. Read about back-button focus: when I learned about it, it was like a cheat code that improved my images a lot
3. Don’t skip post-processing: I don’t want to burst a bubble here, but post-processing is as important as clicking a photograph, if not more. If you look at some of the best wildlife photographers, you will see that just by looking at an image you understand that its their shot. This is an outcome of years of post-processing experience, which allows them to standout through their own style. Try to get into post-processing and spend time processing each photo and understanding what works for you. To get the best our of post-processing always shoot in RAW. Some of the easy to use applications for post processing I feel are Snapseed (free) and Lightroom (paid). Try both, they will help you create magic.
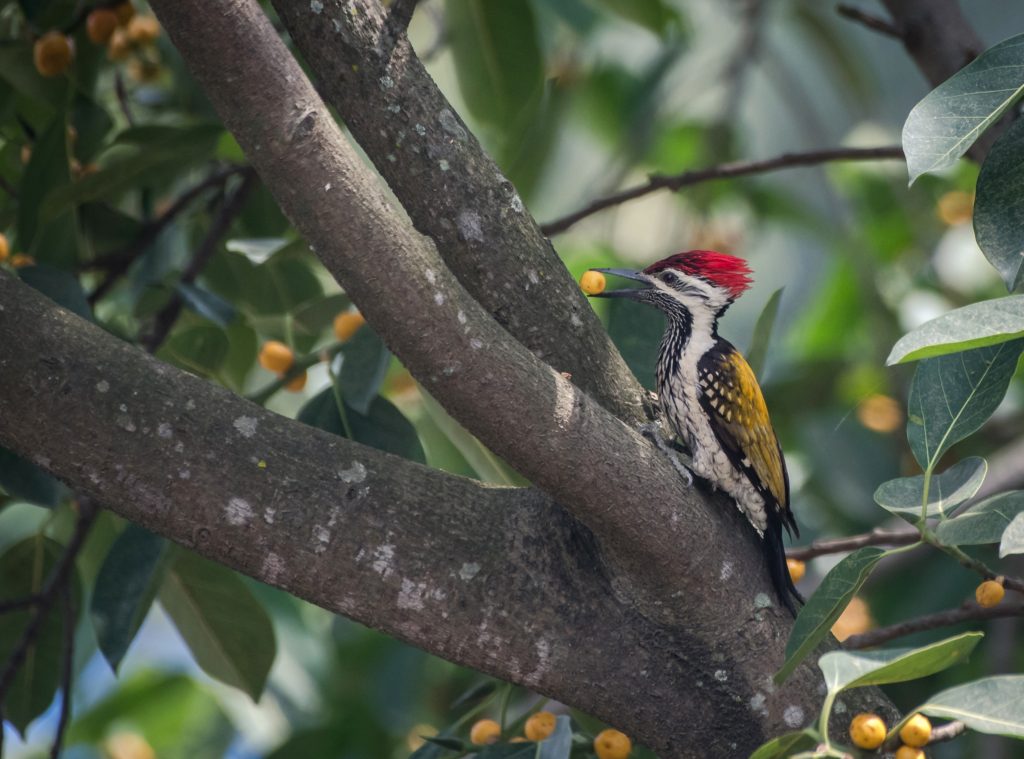
4. Understand behaviour: the bird’s and your’s: Now that some of the basic technical elements have been covered, I would like to emphasize on something which comes with experience but is worth being conscious about. Understanding bird behavior is critical to finding birds and getting a chance to shoot them. I am amazed about how every time I go out with a few people, they spot tens of rare birds when i see none. From them, I realized that understanding bird habitats and bird calls is a recipe for success when it comes to finding and photographing birds. During the lockdown, I found a tree outside my house with some berries (check image of lesser flameback). Just by spending a few hours looking at this tree, I found a maddening amount of birds: so even in the wild, you should keep an eye-out for these “bird party” venues. One more thing that I learned very late is that: just like you see birds, they see you too. So, you need to be very subtle and you also need to hide (behind trees, walls, use camo, or anything else) to get as close to your subjects or keep them behaving naturally. Hence, practicing being subtle while understanding bird behaviour becomes a critical part of bird photography.
5. Use ancillary gear: While I don’t want to focus on importance of good imaging gear, no matter what camera you use, if you use a zoom lens, a tripod can really improve your image quality. When it comes to mid-size and large sized birds that often perch peacefully and move less, a tripod can help you get crisp images. By ensuring that the camera does not move, a tripod will necessarily allow you to shoot at low shutter speeds, which will allow you to keep the ISO low and improve image quality substantially. That is a secret to getting some cracking shots. So, get your tripod in place. Similarly, start using your lens hood if you don’t use it already. The lens hood can definitely give you better contrasts.
Besides these 5 points that anyone can integrate without a lot of effort, the following are a few elements which work really well for me:
- Its not always about zoomed in portraits, habitat shots do a different type of magic. If your imaging gear doesnt have the megapixel capacities or you dont have a super zoom, try more on the habitat side.
- Very fast apertures are good for small birds, but I prefer a F/6.3 or F/ 7.1 to a F/5.6. Images are much sharper with a slightly larger aperture.
- Exposure compensation is a great way tool as well. Especially when shooting in extreme light environments. Read about exposure compensation and use it to get the images you want even in bad-light conditions.
With this, I close by saying, there is no better tip in wildlife photography than telling you to spend more time in the wild. Besides this very important point, connect on instagram for more tips. Feel free to reach out for direct guidance.
Text and Photographs: Shreejit Borthakur
Comments are closed.